Jump to:
Self-Tape Tips | Video Tutorials | Classes & Workshops |
Audition Prep or Tape Review (NEW!)
Welcome to Our
”Secret” Website!
(It’s still under construction as of 6/9/26, so check back regularly to see if we’ve added more resources)
We hope these tips and additional resources help you on your journey! Let us know if you think something is missing.
Self-Tape Tips
✳︎
YouTube Videos
✳︎
Classes
✳︎
Workshops
✳︎
Self-Tape Tips ✳︎ YouTube Videos ✳︎ Classes ✳︎ Workshops ✳︎
ROCK YOUR SELF-TAPES!
Do you want to optimize your home self-tape setup? Or maybe you just want some tips on how to put your best foot forward when you hit that record button?
You’re in the right place!
We’ve been running Get Taped since 2010, and before that were taping actors as far back as 2005. We’ve taped over 30,000 auditions for actors (on top of our own auditions). We helped pioneer this self-tape revolution and we want to now help you!
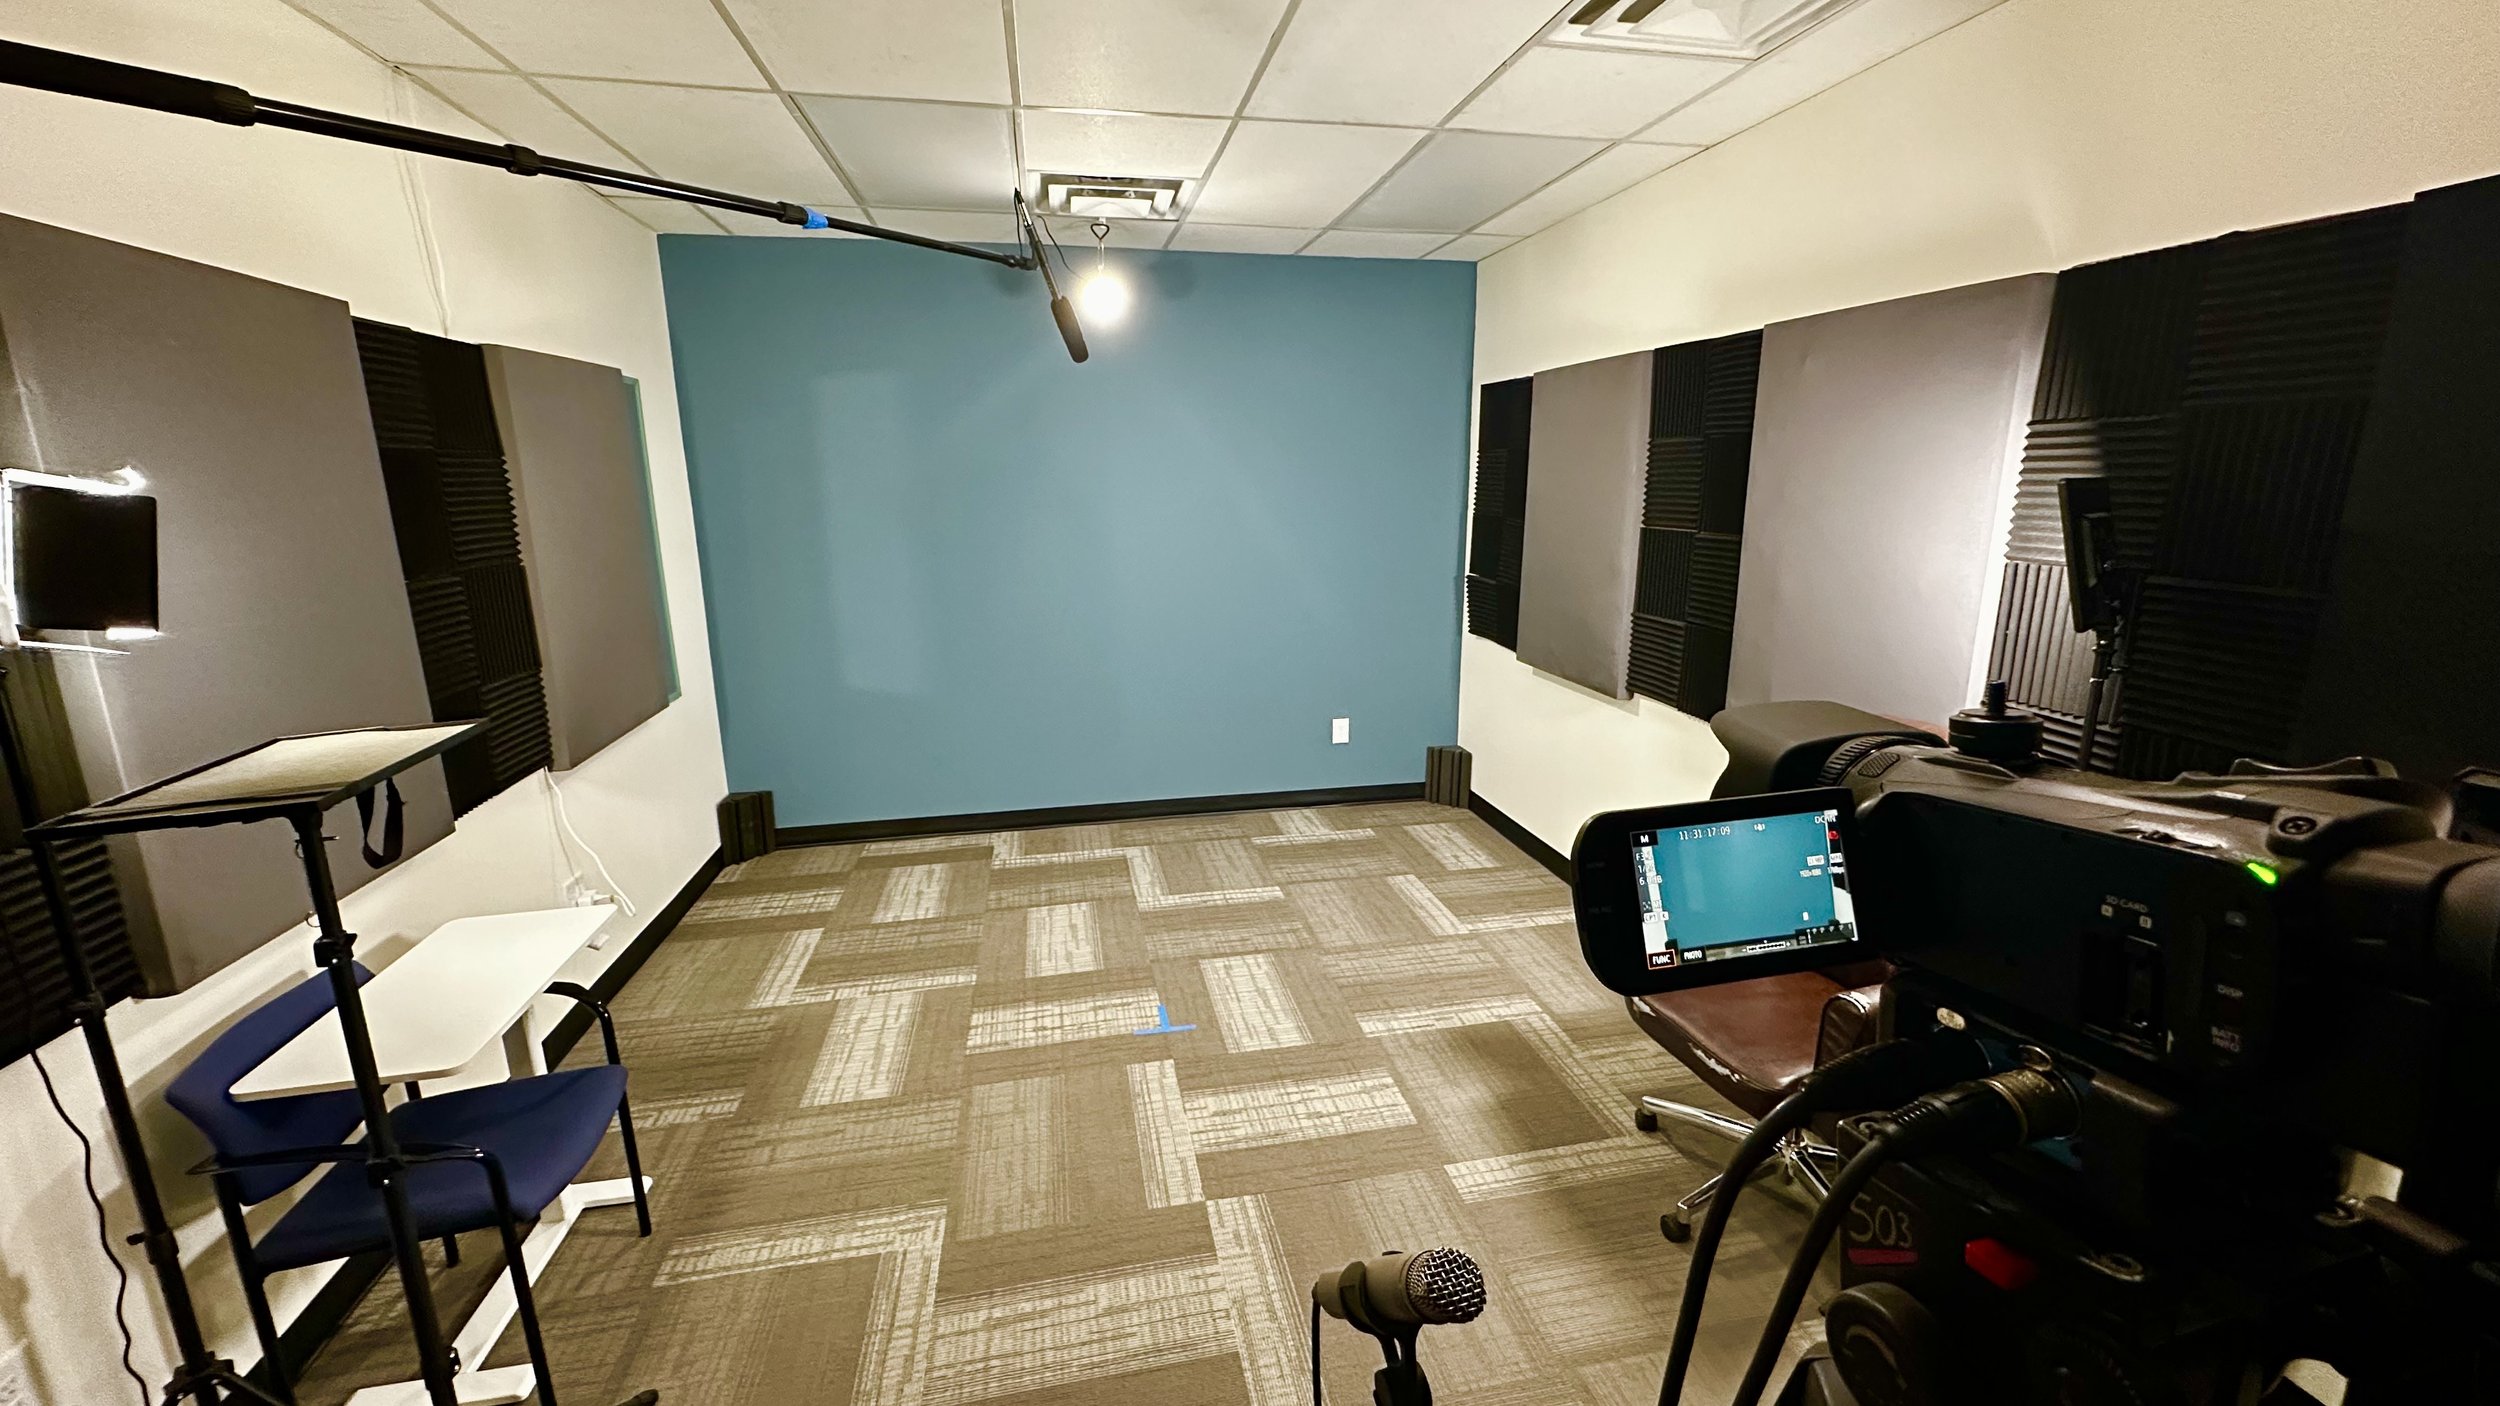
PART 1: TECHNICAL TIPS
We will start with the physical setup of a self-tape studio. We’ll cover the basics of how to build your studio on a shoestring budget. These same concepts will also help you to figure out the best setup while traveling.
NEED SOME PRODUCT SUGGESTIONS?
Check out our Amazon Storefront
• Camera/Tripod: For the budget-conscious actor, your smartphone is all you need. All recent models shoot in 4K (or higher), which is overkill. So no need to buy a fancy camera.
And as far as a tripod is concerned, just make sure it raises high enough to get the camera lens at your eye level. If you want some versatility, you can also buy a tabletop tripod for traveling.
Mic: There are several options for capturing your dialogue. The simplest is to just use the mic that’s built into your smartphone. If you’re standing a little further from the camera, though, you may want to purchase a wireless mic that can clip to your shirt, or a shotgun-style mic that can attach to the camera. If that technology scares you, keep it simple.
Lighting: This will be one of the weak links for many home studios. Lighting is perhaps not as intuitive as you may think. Here are some tips:
For the most pleasing skin tone, you should be careful with mixing sunlight and regular lights. If you buy bulbs that say “daylight” on them, that will help minimize color variations in your skin tone.
On partly cloudy days, you may have drastic changes in lighting during your takes, which is distracting to the viewer. We recommend using all artificial light so that it can be controlled. That said, if you’re traveling, you may need to rely solely on sunlight.
In general, you should be facing the light. Sounds simple, but many problems with lighting stem from actors standing with their back to the window, creating a silhouette effect and making it hard to see them.
Types of lights: You can use regular lamps or buy soft boxes or LED panel lights. If you don’t have a dedicated space, however, keep it simple. Again, just make sure the bulbs all say the same thing on the packaging. We recommend “Daylight” bulbs.
Placing the lights: 2-point lighting is the simplest setup. If you have two light sources, place them 30-45 degrees off the axis of the camera. For height, place them just at or above your eye line. For more “flat” or “glam” lighting, you can lower the lights slightly below the eye line, and walk the lights in closer to the camera. That’s also great for news anchor lighting.
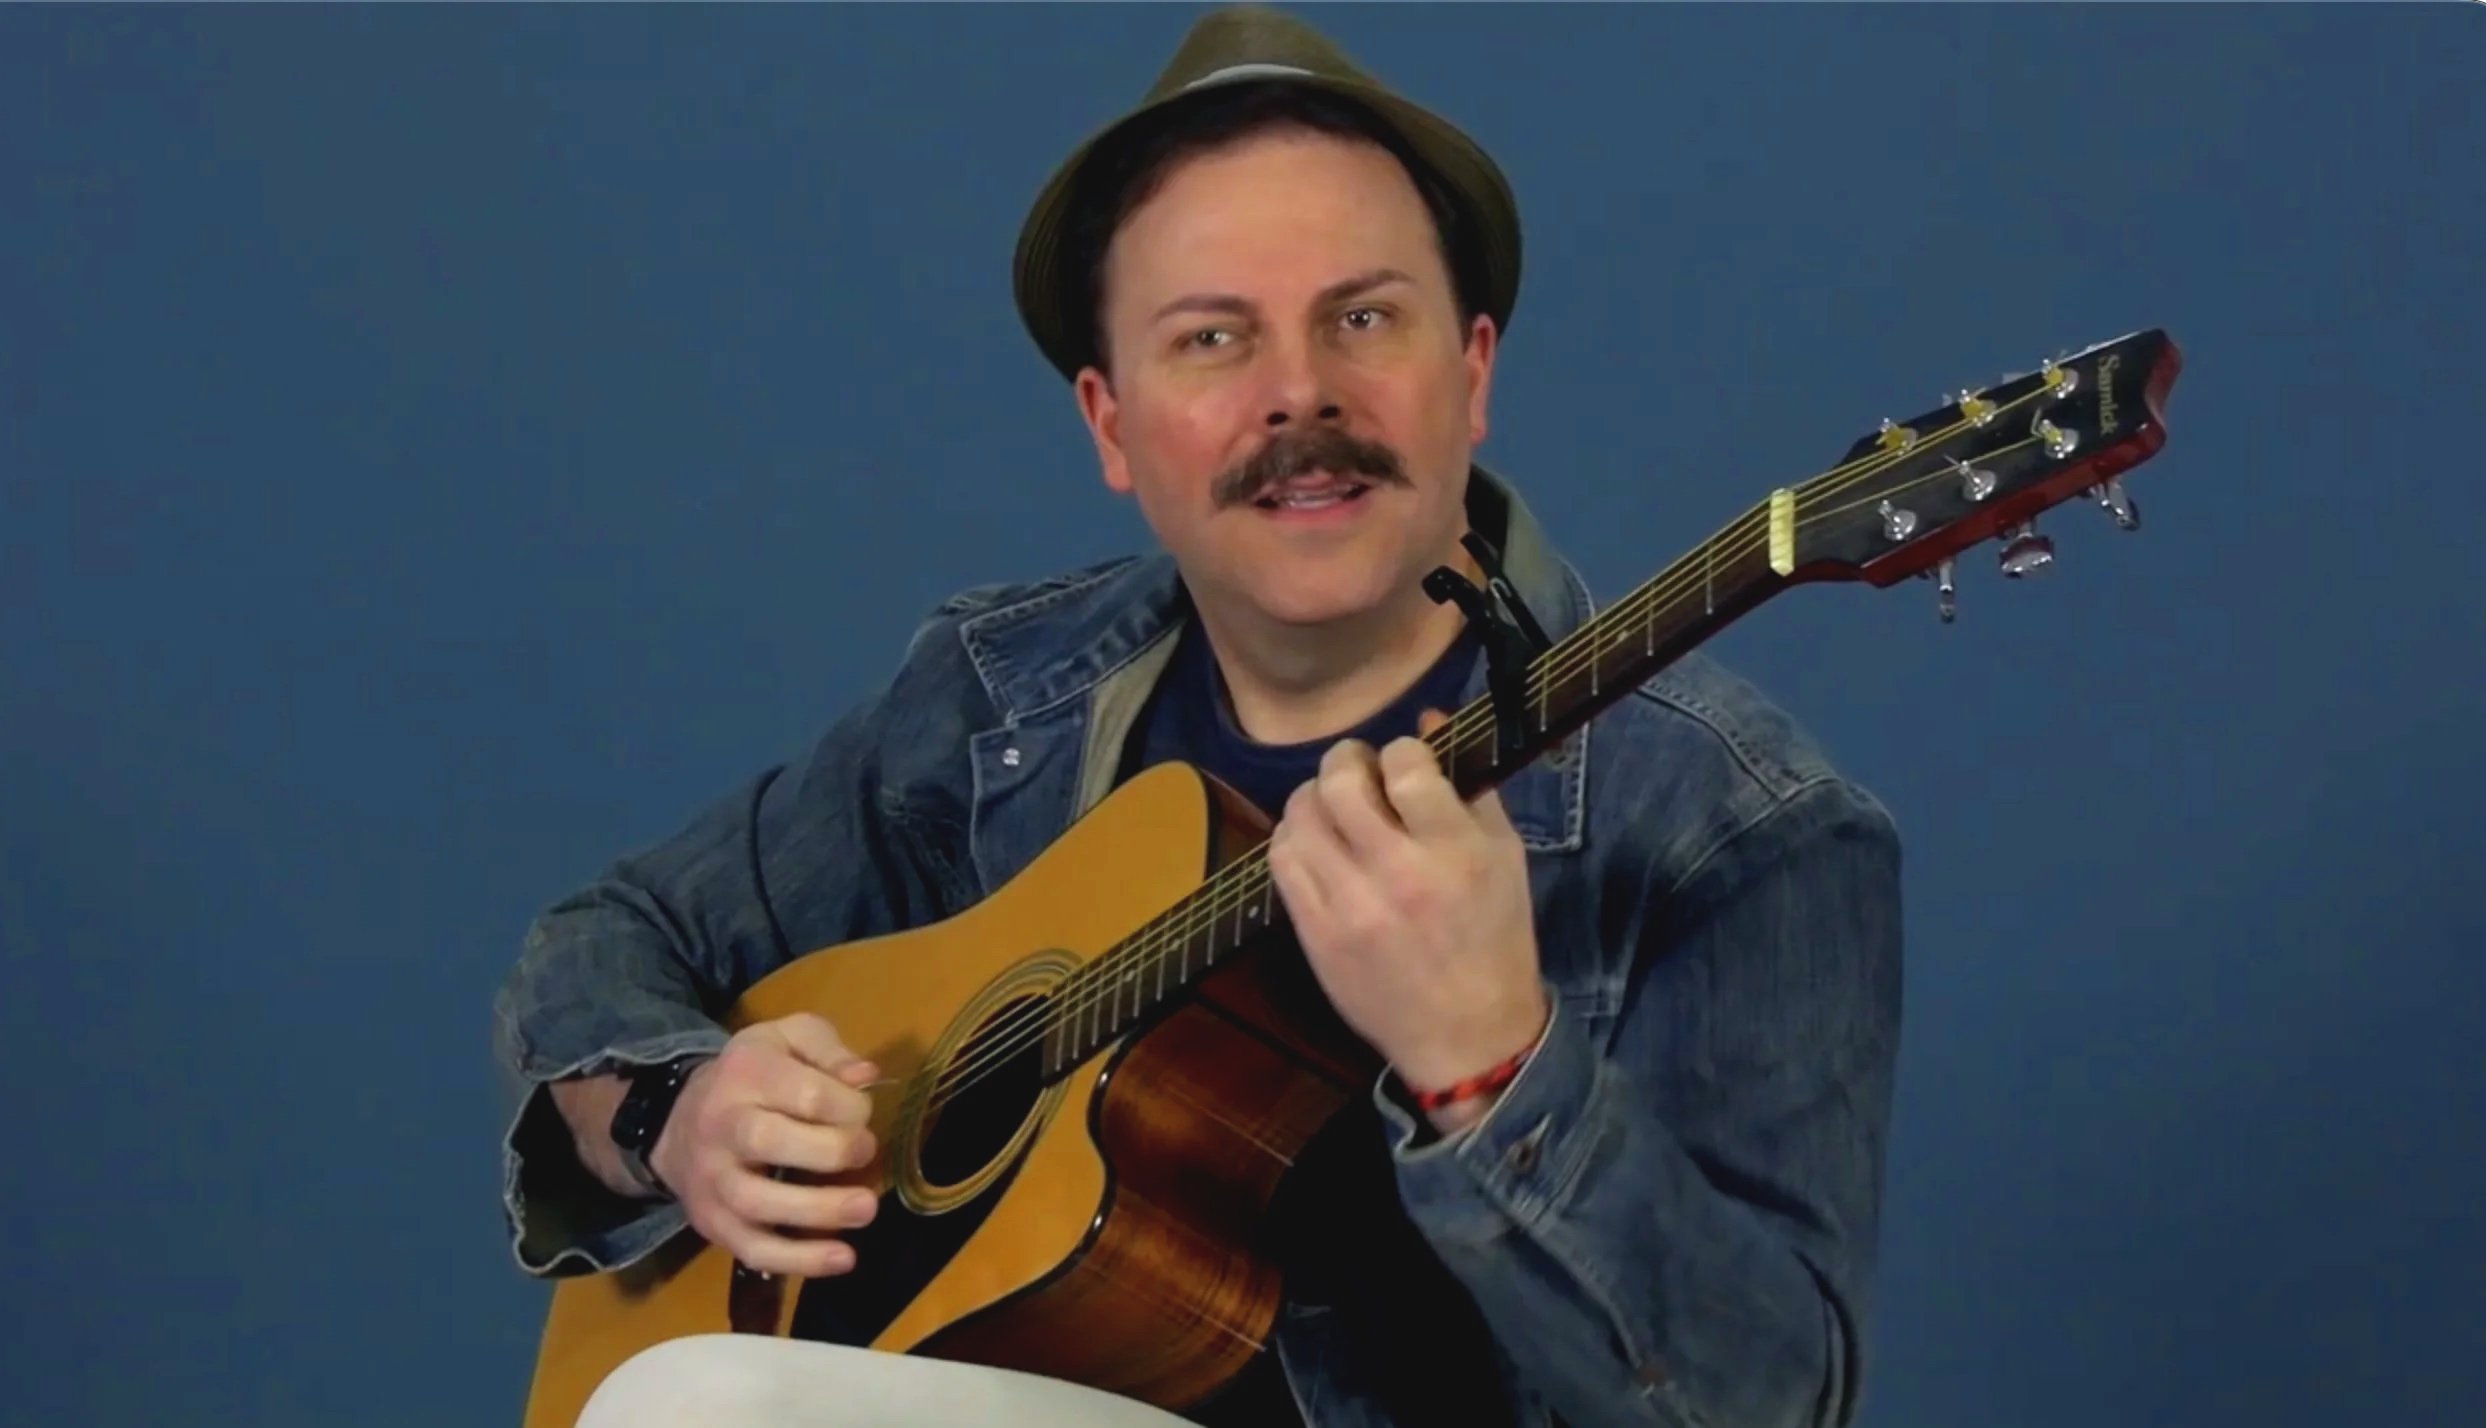
Backdrop: Keep it simple. A blank wall is fine. If it’s painted a glossy white, that might create some problems with your skin tone, but you can tack up a colored bedsheet for a simple solution. If you want to invest a few dollars, you can buy a foldable backdrop or a larger one with a stand.
Just keep the color more muted. A bright blue or green (used for special effects) is distracting, and backdrops with patterns (like those made for portrait photography) can be a little too busy. A solid backdrop is always less distracting than your kitchen or a nearby window. Again, you’re trying to keep the focus on YOU, not your house.
Acoustics: Ok the final topic is the actual room you tape in. Matt has a Masters in Acoustics, but the average actor doesn’t think about these concepts when setting up a studio. It’s too complicated to get into all the nuances, but here are some quick tips to minimizing distractions:
Pick a carpeted room. If not available, place a throw rug on the floor between you and the camera. If that’s not an option, then place pillows, couch cushions, and/or a comforter on the ground to minimize echo.
Got a coat tree? Place it off camera to either side between you and the camera. This will absorb sound that wants to bounce of the hard wall like a bank shot in billiards. If you have two coat trees (or something similar), put one on each side.
In short, you want soft surfaces to absorb the echo in the room. Hard walls with nothing on them paired with wood floors is a recipe for disaster with your audio.
PART 2: PERFORMANCE TIPS
Ok, let’s assume you have a dedicated home studio (or you’re coming to a service like Get Taped!). You don’t need technical tips anymore. You want to know the secrets that will help you book more jobs!
Well, let us temper your expectations. The following tips are again designed to help you minimize distractions in your self-tapes. For targeted tips on how to increase your booking ratio, you will need to hire a coach or jump into a class for that level of guidance.
Eye Lines: In general, keep your eye lines close to the camera lens. There are ALWAYS exceptions, but when in doubt, place your visuals close to the camera. Hint: if you’re using a cell phone, keep in mind the lens exaggerates distance. So if you look 3 feet off camera, it will seem like you’re almost in profile. Record some test footage so that you can start to master your eye lines.
Likewise, if you have an actual human in the room who is your reader (hooray!), then make sure they stand close to camera. WARNING: If you’re only using a smartphone for both video and microphone, you’ll need to have your reader back up so that they’re further from the camera than you. That way their dialogue is not louder than yours.
Also, if you have multiple characters in the scene, you can sometimes combine those into one eye line, but most CDs respond favorably if you split the lens and have 2 eye lines.
Slating: Should you slate IN CHARACTER? Not necessarily. Casting wants to know who you are between cut and action. The slate is a good opportunity to show them a sliver of your personality. They also need to know how to pronounce your name!
WARNING: Whatever you do, avoid obsessing over the slate. Keep it quick and simple. Do not try to “take advantage” of the time to thank them for the audition or gush over the project. That will smell of desperation…
Two Takes: Should you send two takes? Read the instructions first. Some CDs explicitly forbid multiple takes, some actually require multiple takes, but the majority won’t state their preference. In that case, here are some points to consider:
Is it less than 5 lines of dialogue? If so, then 2 takes will usually be acceptable (maybe even preferable). Just be crystal clear in how your POV/Objective/Essence is different in each take. Don’t just send two versions of the same approach.
Is it longer than 5 lines? Be careful about submitting two takes. Some CDs will start to think you’re getting desperate by offering up choices. Other CDs will take it that you don’t know who you are, or are not confident in your work. That said, sometimes it will feel appropriate to submit two takes on a longer scene. If it’s multiple scenes, though, default to 1 take of each unless there are special reasons why you feel led to submit two.
Should you Memorize? If it’s a union project, you can’t be forced to memorize (unless they’re paying you). That said, you need to make the choice that allows you to immerse yourself in the world of the character. For some actors that means 100% memorized. For actors who are masters at cold reading, it may mean holding the script. And for those who are handy with technology, it might mean using a teleprompter.
Whatever choice you make, again, the goal is to not distract the Casting Director from your performance. So if you’re not savvy on teleprompter, they’ll see your eyes reading. Or if you’re not comfortable cold reading with the script in hand, you may look down too often or rustle the paper too much. So if memorizing is the only way for you to feel comfortable disappearing into the world of the audition, then you have your answer.First/Last Moment: In a perfect world, you’d have all the time you need to prepare for an audition. In reality, you’ll likely feel pressed for time. As you develop a process for script analysis, be sure to put emphasis on the first and last moments.
First Moment: You have to be 100% immersed in the world BEFORE you hit record. If casting sees anything less, they will be more likely to move on to the next actor.
Last Moment: Your final moment has a disproportionate effect on the impression you leave on the Casting Director. So make sure you don’t step out of character too soon, or cut the camera prematurely.
BONUS: There is almost always a moment somewhere in the middle of the scene that casting has flagged as crucial to the scene. Perhaps it’s a punchline or an emotional shift for your character. They may skip straight to that moment to see how you handled it. In your analysis, try to identify this moment and make sure you don’t overlook it during your prep.
VIDEOS!
Below is a curated list of YouTube videos from our channel that highlight some key concepts for your self-tapes. Be sure to subscribe to the channel for weekly tips and insight into this crazy industry!
INSIDE THE AUDITION ROOM
These videos are tips and tricks to creating the best self-tape
10 Tips for Self-Taped Auditions
Six Bad Habits we see in Self-Tapes
How to Achieve Good Lighting in Self-Tapes
Understanding Co-Star vs. Guest Star auditions
Theater Acting vs. Film Acting
OUTSIDE THE AUDITION ROOM - THE BUSINESS OF SHOW BUSINESS
These videos help you to navigate the rest of your career…
When to Join the Union (in a Right-to-Work State)

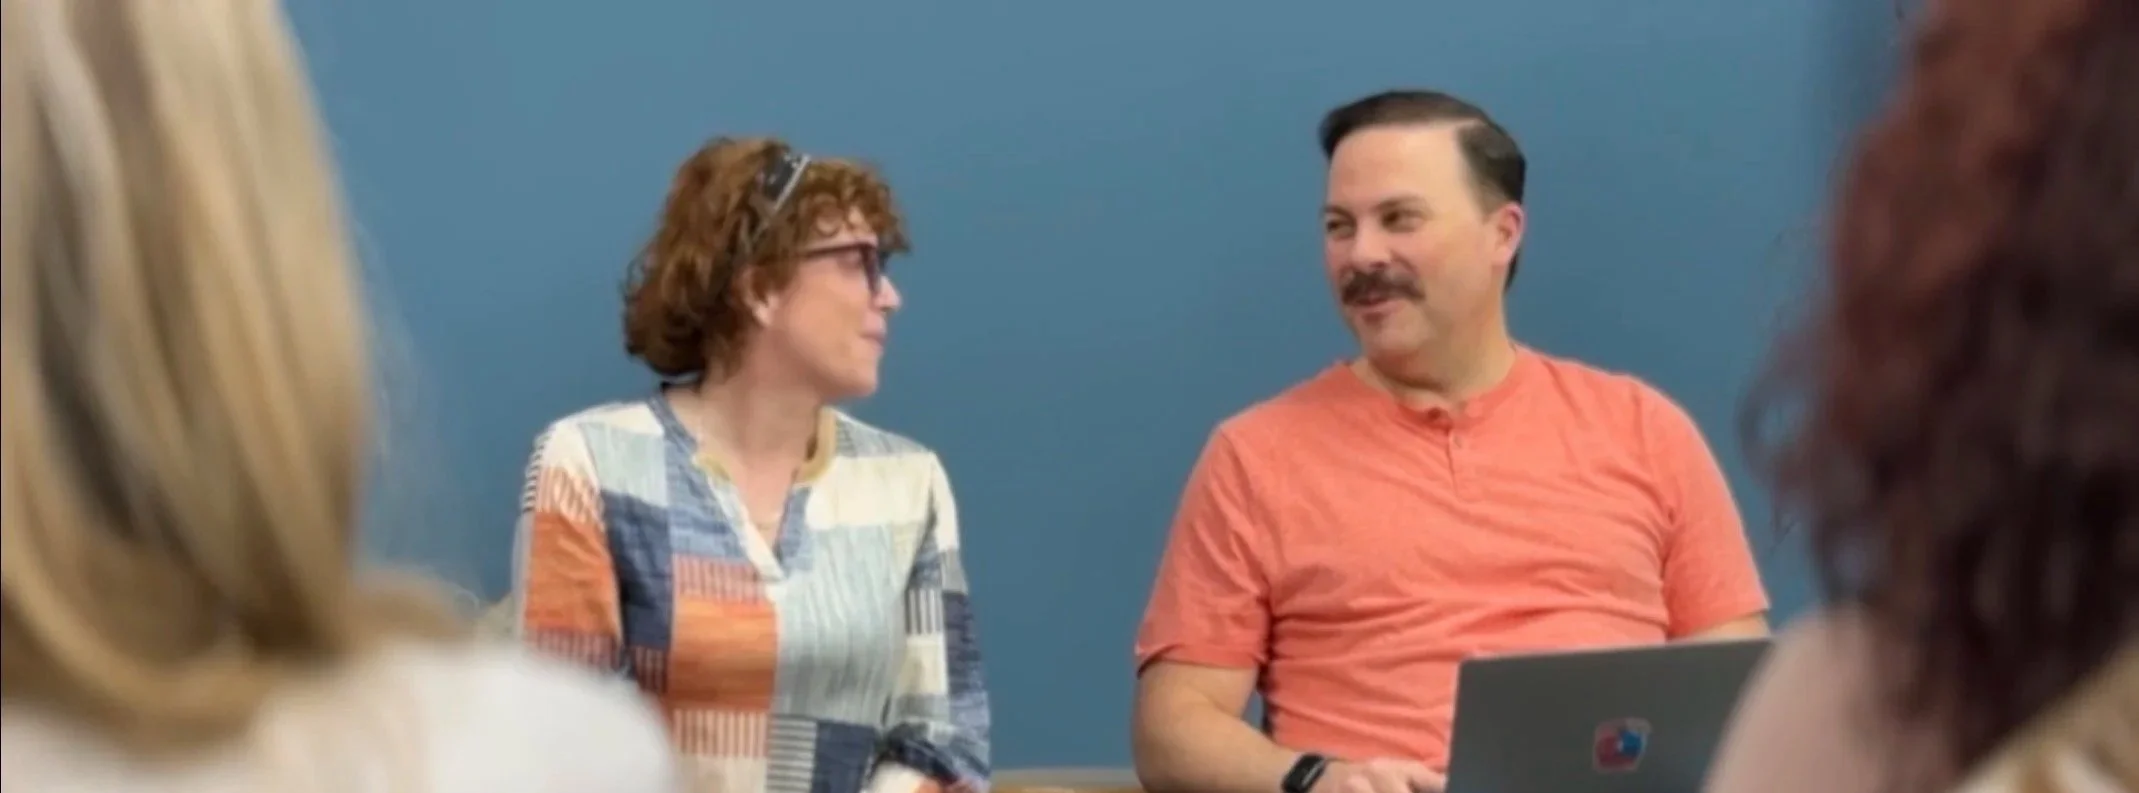
Classes & Workshops
We can’t emphasize enough how important it is to TRAIN. Doctors go to med school. Lawyers go to law school. Similarly, actors need YEARS of training to develop the craft and confidence necessary to sustain a long career.
At Get Taped, we offer the following classes and workshops:
• Improv - we call it Get Loose, and offer it as an 8-week class (in person). This class is taught by both Brooke & Matt, and is tailored to the on-camera actor who wants to become unstoppable on set and in auditions.
• On-Camera - we call this Get Worked, and it is offered as a 1-day workshop (in person). It’s focused NOT on craft, but instead on the TECHNICAL SKILLS that you’re expected to know on set (but nobody ever taught you).
• The Image Process™ - Created by the late Sam Christensen, this class reveals your “best sellers” when it comes to the types of characters you will book with the most ease. We equip you with the knowledge of how Casting perceives you, and empower you to use that to your advantage in your life and career.
For more info on these classes, visit our Get Schooled page here.
AUDITION PREP & TAPE REVIEW by Matt
These 2 services are offered by Matt as an affordable way to make sure you’re on the right track. Think of them as bumpers in a bowling alley. You still need to learn how to bowl (your training), but these offerings can help you throw that STRIKE!
AUDITION PREP - $10/role
Send Matt your script, along with the character breakdown and the show synopsis, and he’ll send you back helpful tips to make your taping experience more fun and focused! The feedback will either be written or as a voice memo. There will be either technical suggestions where appropriate (how to handle eye lines, sitting/standing/entering, if props are appropriate, etc) and/or craft notes on topics including character, tone, pacing, etc. The feedback is entirely dependent on on the materials provided.
TAPE REVIEW - $10/audition (up to 3min of video)
If you have a past audition you want feedback on, you can send that for review. Matt will need the video (of course), the script, and the breakdown of the character and show. If you have lots of scenes or a single video that is longer than 3min, you may be charged extra. If you have multiple roles, they will be charged individually at $10/role (again, up to 3min of video per audition).
To book either service, email Matt here. Payment will be via Venmo, CashApp, or Zelle and those details will be communicated once Matt can give you a total.
NOTE: To keep these offerings affordable, neither are offered as a live Zoom or phone call. Matt will do his best to respond promptly, especially for the audition prep. That said, reach out ASAP to give him (and you) ample lead time so that you’re not scrambling to tape the audition before the deadline.